Hey all
This is a quick guide on how to fit an HID kit to your angels and car.
(PLEASE NOTE THAT THIS WAS FITTED ON A CORSA C)
First off here’s what your gonna need before you even consider installing your HIDs...
• Blanket – To catch your front bumper.
• Torch - It’s a given really.
• Socket Set with 8mm and 10mm Pieces - Full set helps.
• Electric Drill with 25mm Circular Saw attachment and 2-3mm Drill Bit.
• Strong pair of hands. Preferably a strong friend or family member.
• Car Jack.
• Circular File – Preferably 8mm, no more than 12mm.
• Needle Nose Pliers.
• Some cable ties.
• OPTIONAL – Electric Screw Driver.
• OPTIONAL – Nitrile Work Gloves.
• OPTIONAL – Workshop Manual.
Once you've got all these items ready to go you should be looking at a 1-2 hour Job. This all depends where your working, the help you get and the tools you use.
Let us begin!
Get the bonnet open and drop the front bumper.
Make sure to let the car down off the jack before you drop the front bumper.
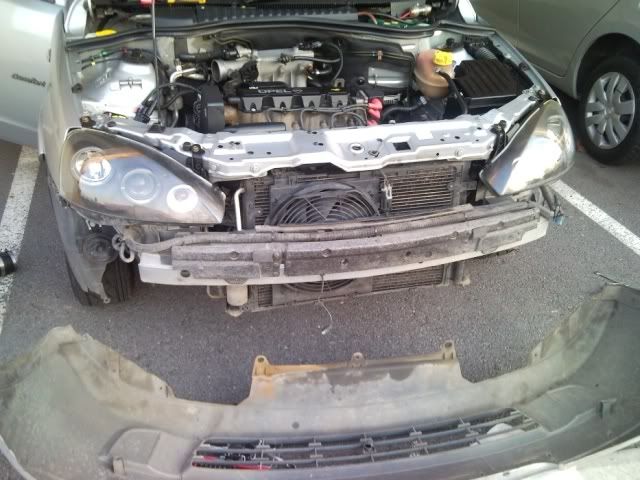
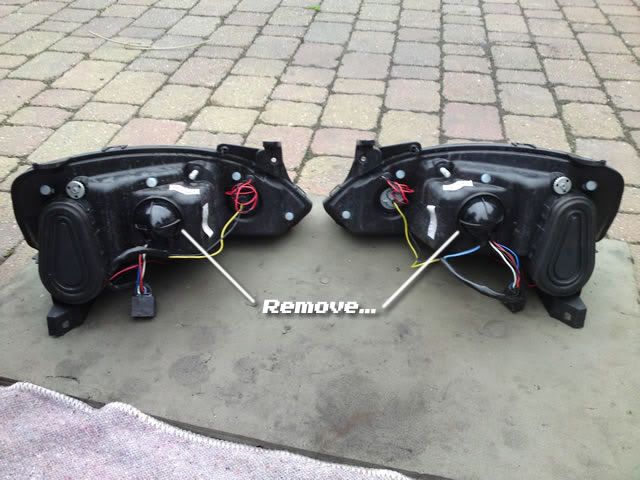
Once your bumper is down, carefully remove your Angel Eyes.
Once your Angel Eyes are out, remove the dipped beam covers by twisting to open.
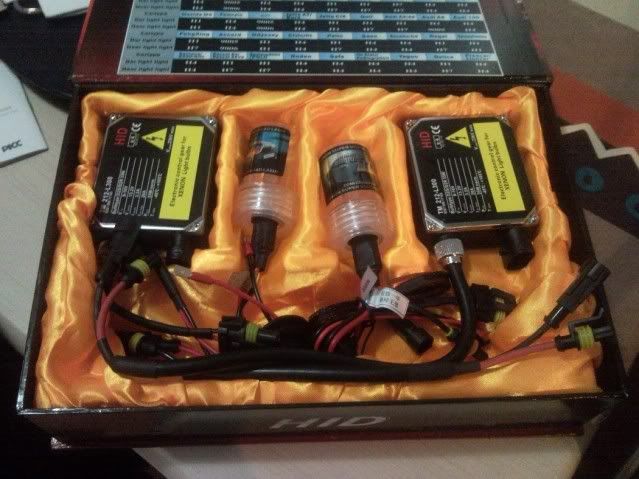
Grab your HID kit and familiarise yourself with the parts. CAUTION! – Do NOT touch the HID bulbs with your hands. I recommend a pair of Nitrile Work Gloves...
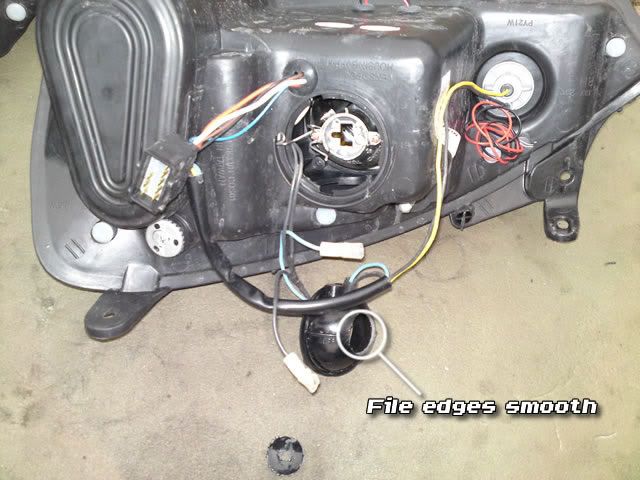
Now grab your electric drill and attach your 2-3mm drill bit. Before you start drilling turn the Angel Eyes upside down and hold the dome down on solid ground. If the dome doesn’t sit well on the ground pull some slack from the wires in the Angel Eyes. Make sure to clear away and tidy the wires coming from the back of the Angel Eyes.
CAUTION! – Hold the dome to the ground TIGHT. Having a strong friend or family member (who trusts you with a drill) holding the dome while you drill is almost a must.
Now carefully drill a small indent or hole (up to you) in the centre of the dome cover. Make sure you drill the hole/dent dead centre as this will be our centre point for the circular saw.
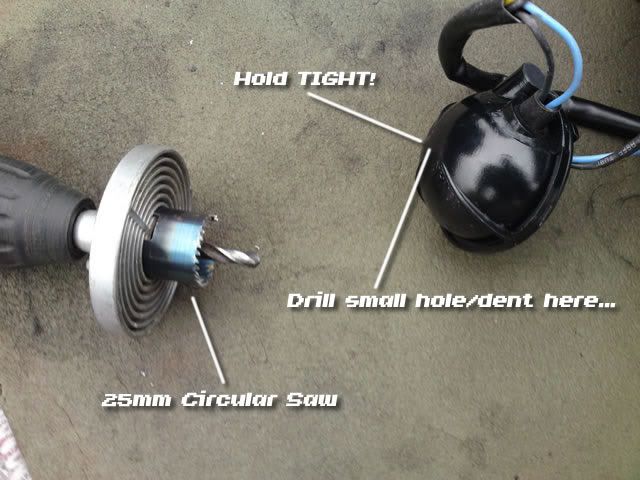
Once you’ve drilled a small hole/dent attach your 25mm Circular Saw. With your friend/family member holding the dome TIGHT to the ground begin to drill your 25mm hole using the small hole/dent as your starting centre point. CAUTION! – If the dome isn’t held tight there is a risk of the drill getting wedged in the dome and spinning it. This will wrap up and tangle all your wires and possibly damage your Angel Eyes. Best method I found was to drill slowly as you feel the drill tighten on the dome.
Grab your circular file and carefully file down any rough edges in the hole you just made. This makes a better finish and means no rough spikes will be scratching at the rubber grommet once installed.
Time to make your HID bulb fit your Angel Eyes. The HID bulbs are slightly fatter than a standard H1 bulb which means we need to file the metal bulb holder till it fits our HID bulb.
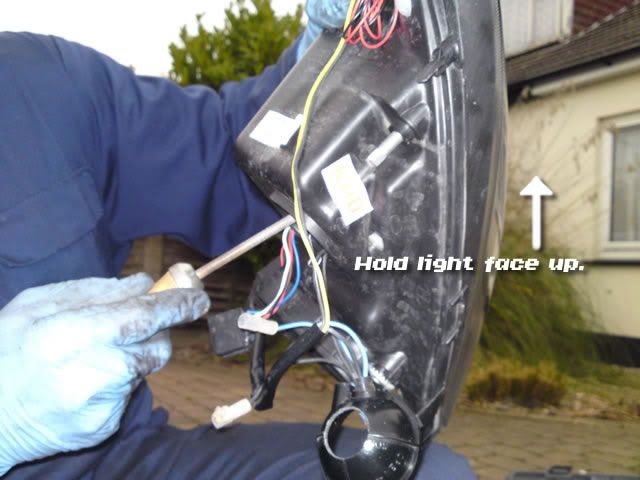
While holding the Angel Eyes in the air (maybe ask your friend/family member to hold them), carefully file inside the bulb holder. Holding the Angel Eyes up like this stops any metal shavings going into your Light Lenses. File a small amount then see if the bulb will fit. Rinse and repeat until the bulb sits nicely in the holder. Don’t try and blow away metal shavings away from the holder as this will probably send some shavings into your lenses. Instead, while still holding the Angel Eyes up, just use your little finger or a cotton bud to wipe out the holder.
Now comes the wiring of your HIDs.
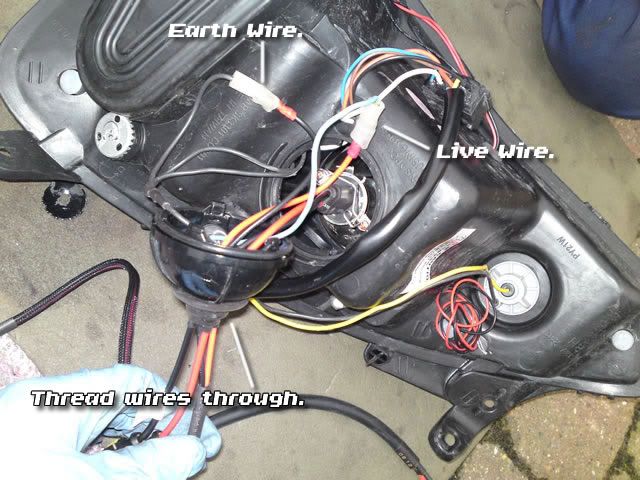
Thread the bulb and the two power cables through the hole in the dome. Secure the grommet in the hole and connect the Live and Earth wires as shown above. If they don’t hold properly just use your needle nose pliers to clamp the connectors together. Now carefully slide the HID bulb into the holder and clamp it down as with the old bulb.
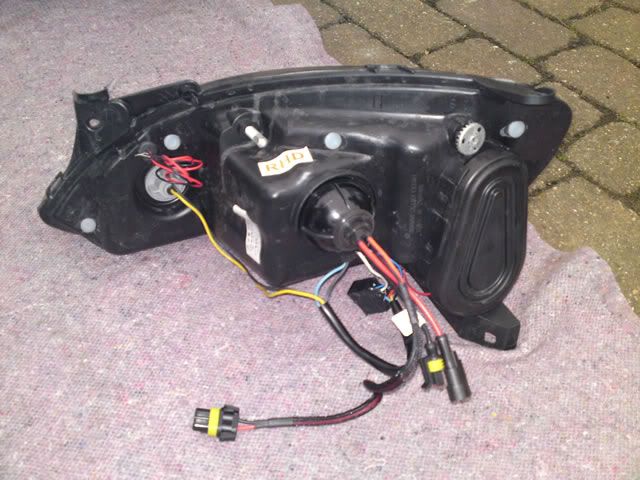
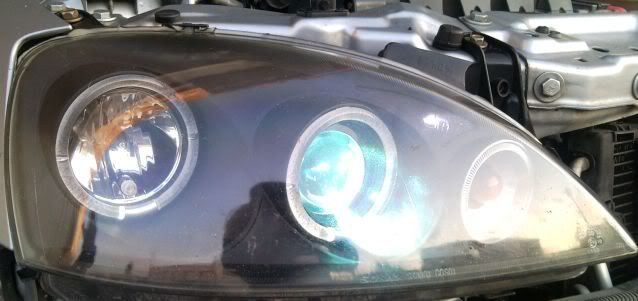
Once everythings in place, adjust and tidy the wires so everything sits nicely in the Angel Eyes then re-secure the dome. Once you’ve done that, your Angel Eyes should look like this...
Once you’ve completed both Angel Eyes, refit them to the car. Now using the wiring diagram from your HID Kit wire up the lights to the ballasts. Now reconnect the original power lead back up to the Angel Eyes. Before you mount the ballasts anywhere, test your new HIDs work...
Its recommended you leave your HIDs running for 15mins the first time you fire them up. This lets the new bulbs and ballasts settle.
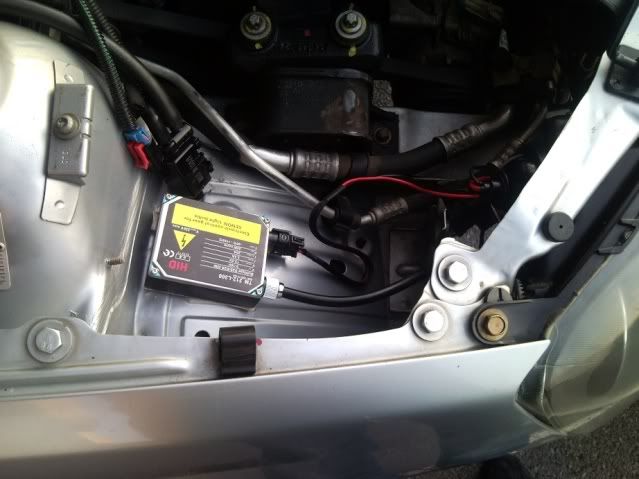
Now comes the annoying part... finding somewhere in your engine bay to mount your ballasts. Once your bulbs and ballasts have settled, turn off the lights and grab your mounting plates. Now how and where you mount your ballasts is entirely up to you and may differ from car to car. Mounting them changes from personal preference to available bolts in the engine bay. Just make sure of the following when mounting your ballasts...
• Make sure they arn’t touching anywhere or anything moving. Excessive vibration can cause damage to your ballasts and make some nasty sounds.
• Secure the wires! Make sure the wires coming out the ballast are cable tied away from anywhere and anything they can get caught on.
• When securing to engine bolts make sure the bolt your using isn’t meant to be torque tightened. Consult your workshop manual for this one.
I fitted the right hand side ballast on the inside of the fender with Gem-khem as the kit never came with any mounting plates or screws.
The left-hand ballast I fitted to the fusebox with Gem-Khem.
After you are done simply replace the front bumper...
And you are done....

Now just wait for night fall and test your new HIDs out...
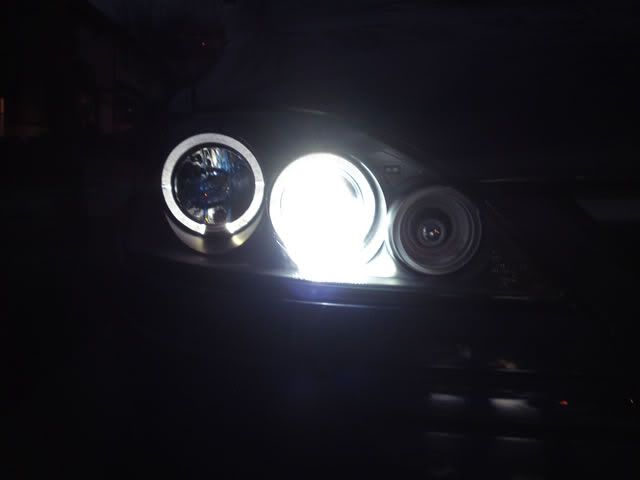


 KILLER
  .
.


 0kw 0Nm


